AED Sentinel Pelican Case Camera Installation Guide

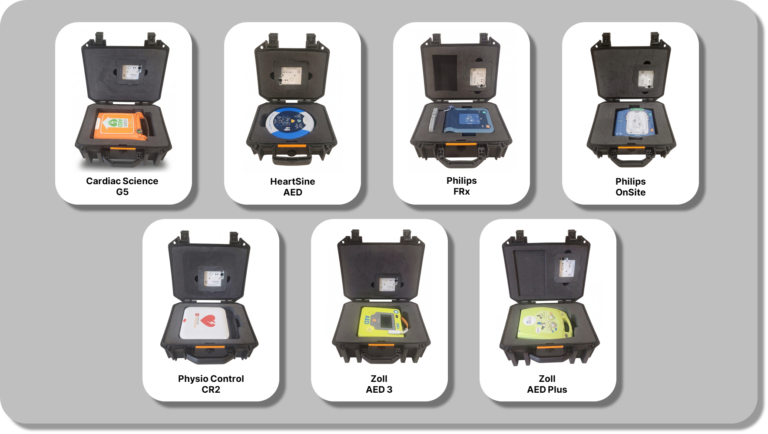
How to install an AED Sentinel camera in an AED monitoring case
Overview
This guide shows how to install an AED Sentinel monitoring camera into an AED monitoring case. Case design, camera placement and camera orientation vary depending on your specific AED model.
The following video shows how the camera is installed. Step-by-step details are provided below.
Installation Steps
Step 1: Remove Insert and Place the AED

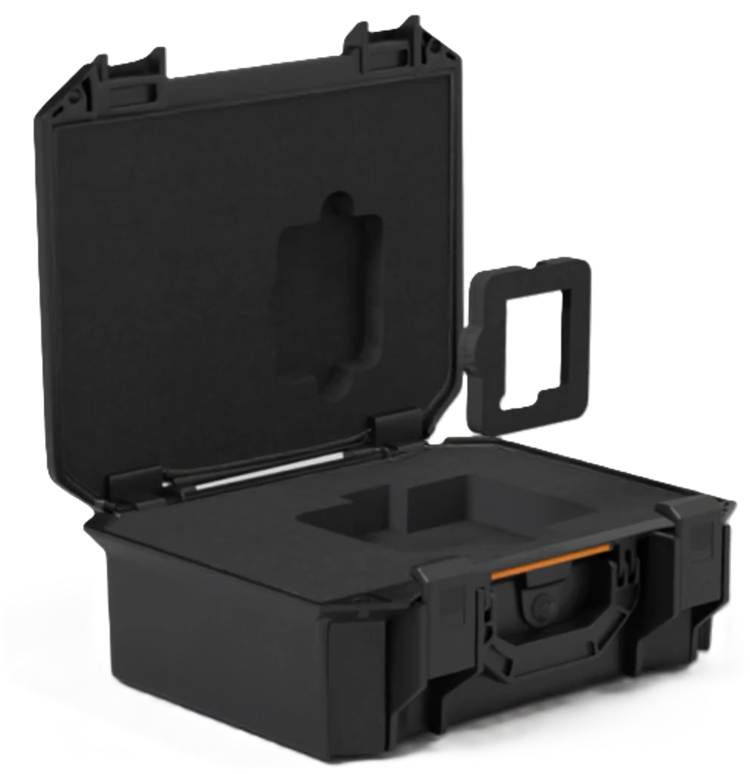
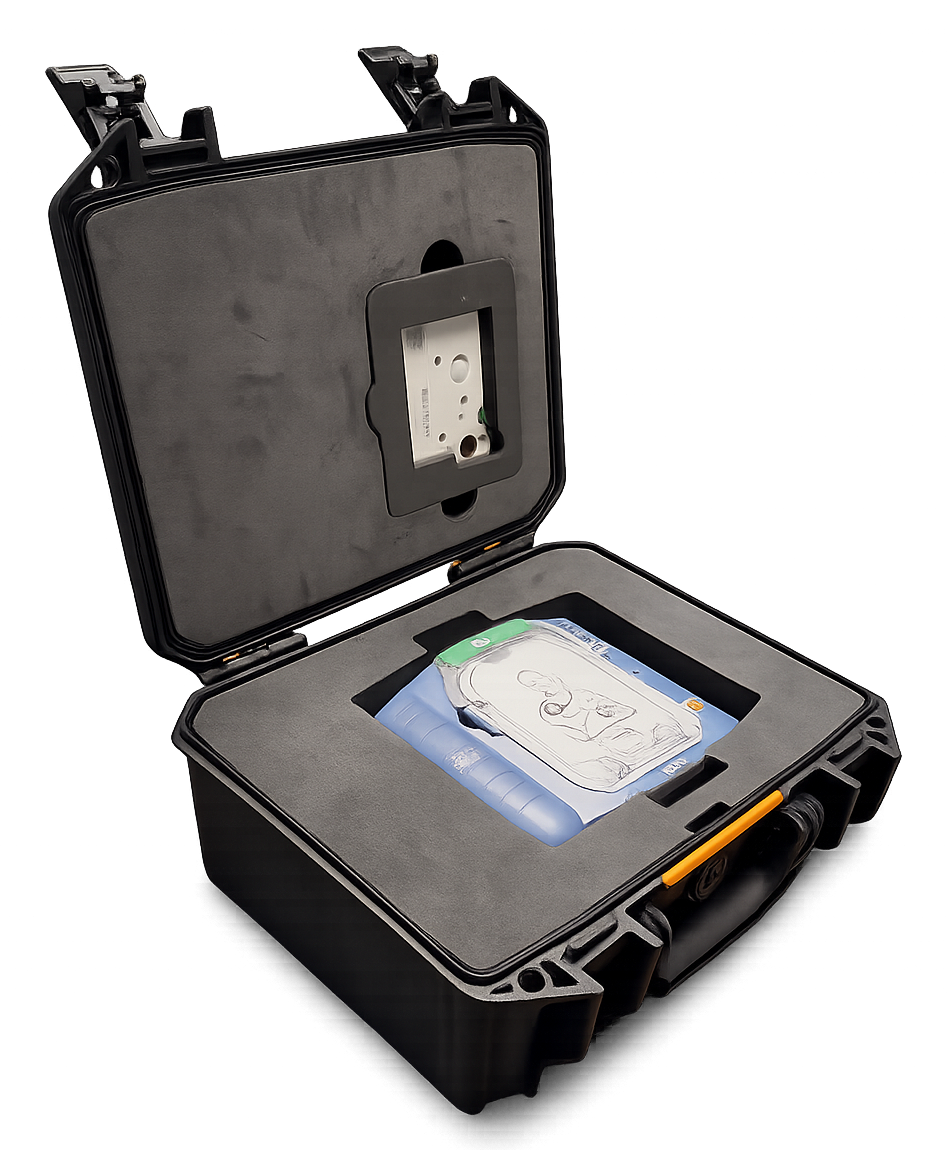
Open the case and remove the foam camera insert from the lid.

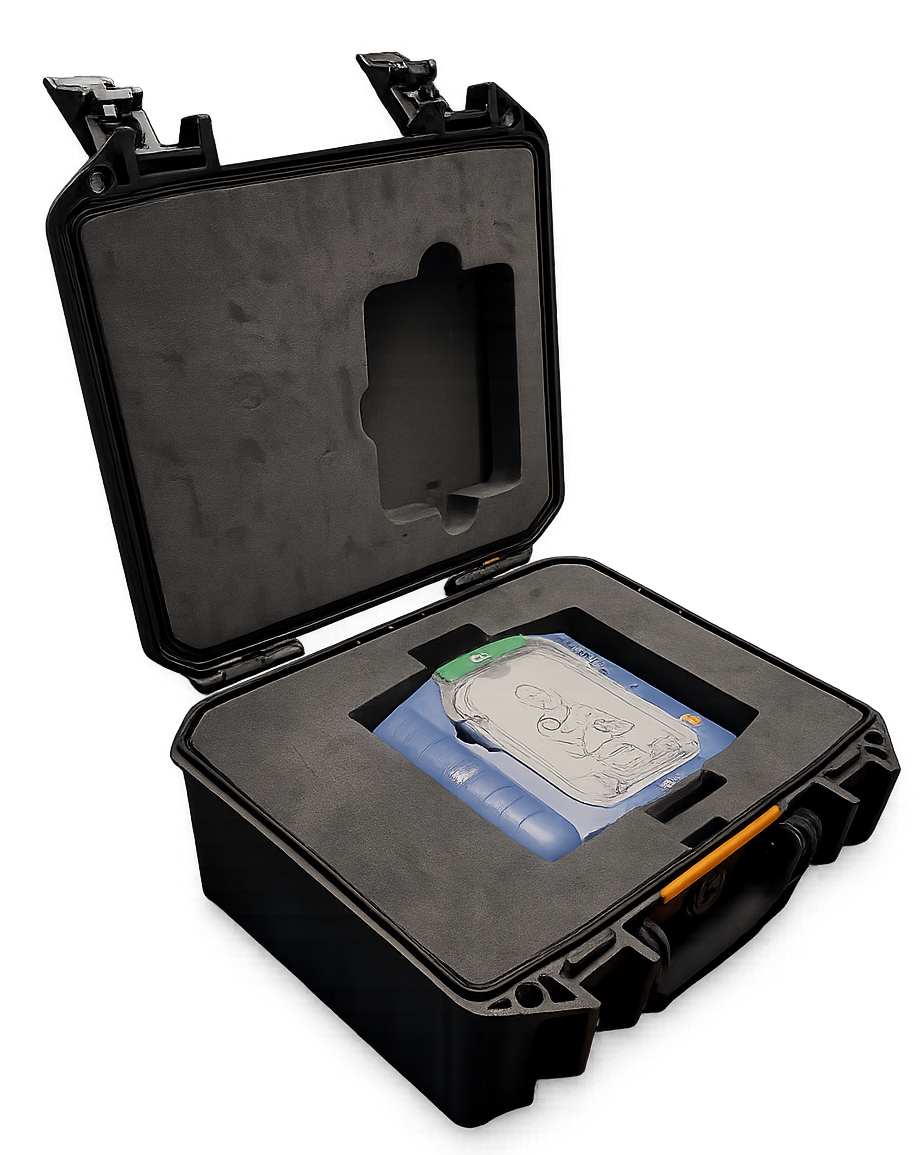
Install the AED in the foam base.
Step 2: Position the Camera in the Insert

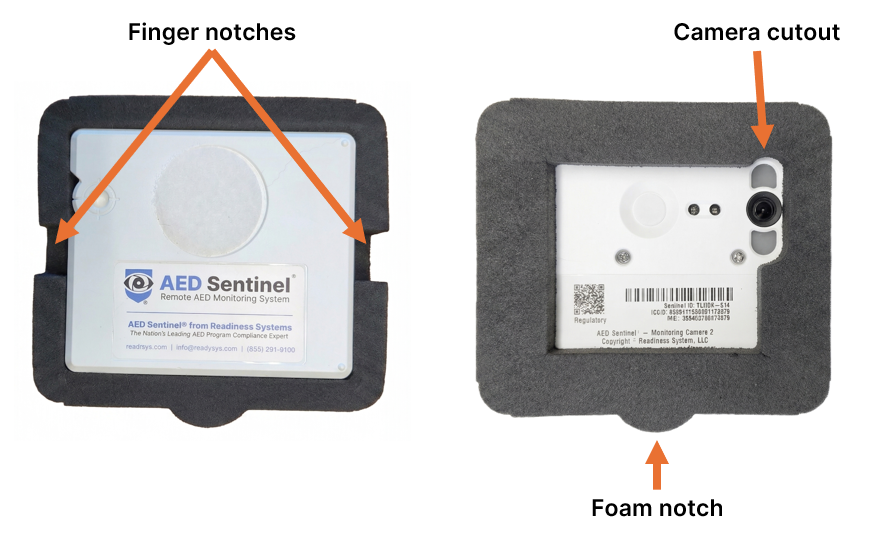
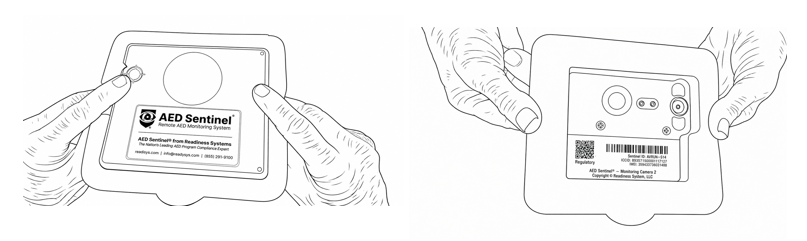
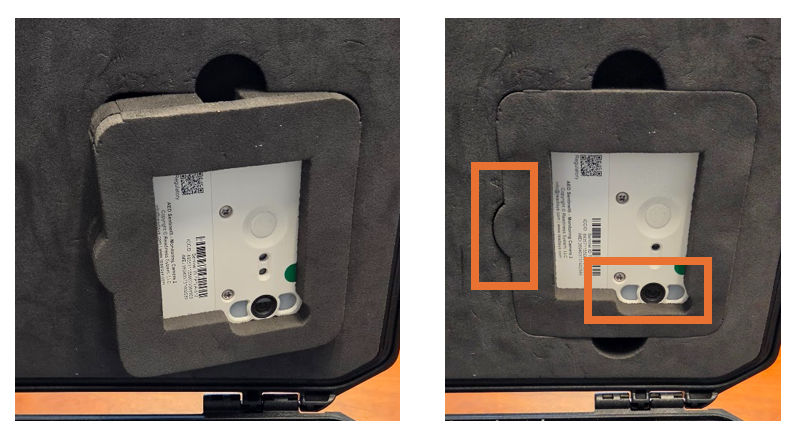
Place the AED Sentinel camera inside the recessed side of the foam insert. Ensure the camera lens is aligned and facing out through the designated camera cutout.
Step 3: Activate the Camera
Press and hold the Camera’s activation button until you see the LED status light turn solid blue (about 3 seconds). Release the button. The LED will then blink green during the activation process.
Step 4: Secure the Camera in Insert
Using the finger notches, hold the camera firmly within the insert as you prepare to reinstall the assembly into the lid.
Step 5: Install Insert into the Lid
Starting at an angle toward the straight edge of the insert, install the camera and the insert back into the lid. Align the foam notch with the corresponding notch slot in the lid foam. Confirm that the camera lens remains visible through the camera cutout. Verify the insert is flush with the lid foam surrounding it.
Close the case lid.